
In part 1 we were able to get an Ubuntu VM up and running. In part 2 we will setup a shared drive and install the development tools: Git, Docker, OpenJDK, .NET Core and Node.js.
Setup a shared drive
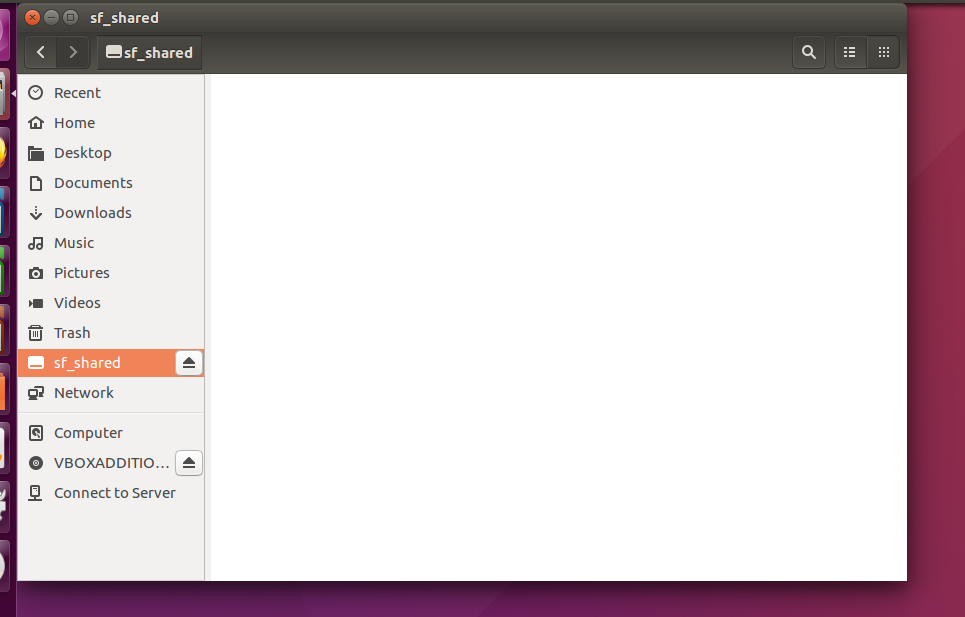
If you want a folder that you can share files between the host OS and VM, then a shared drive can be created.
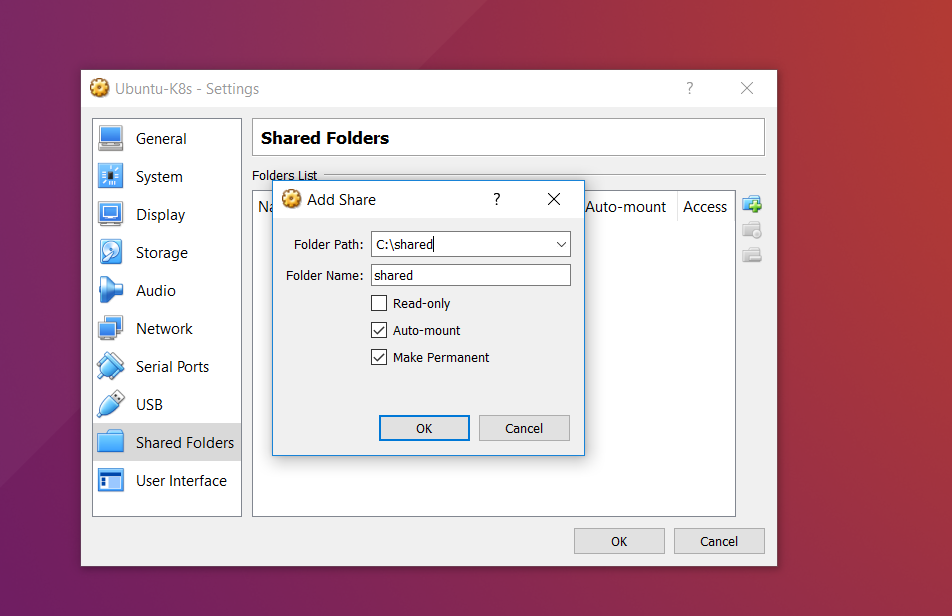
Go to the VM settings and select ‘Shared Folders’. Choose a folder path and a name (e.g. shared). Note: this name will be used later. Select the auto mount checkbox to avoid having to do this manually each time.
Boot up the VM and go to Devices -> Insert Guest Additions CD Image…
This will attempt to start the VirtualBox Guest Additions.
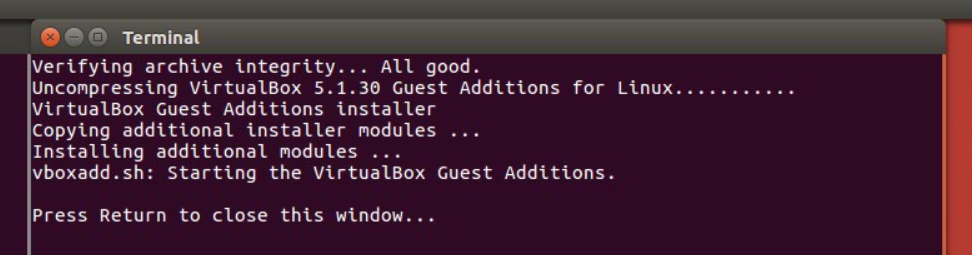
If any errors occur then check the logs in /var/log/vboxadd-install.log.
Open up a terminal and execute the following command:
sudo adduser {Your_Username} vboxsf
Install Docker
There already is a great post for this on the official documentation: Install Docker CE
Install and use Docker on Ubuntu
Privileges for docker without sudo:
k8s@k8s-VirtualBox:~$ echo $USER
k8s
k8s@k8s-VirtualBox:~$ sudo usermod -aG docker $USER
k8s@k8s-VirtualBox:~$
k8s@k8s-VirtualBox:~$ su - ${USER}
Password:
k8s@k8s-VirtualBox:~$ id -nG
k8s adm cdrom sudo dip plugdev lpadmin sambashare docker vboxsf

src: executing Docker without sudo
Verify installation:
k8s@k8s-VirtualBox:~$ docker --version
Docker version 17.09.0-ce, build afdb6d4

#--------------------------------------------------------------------------
k8s@k8s-VirtualBox:~$ docker run hello-world
Unable to find image 'hello-world:latest' locally
latest: Pulling from library/hello-world
9a0669468bf7: Pull complete
Digest: sha256:cf2f6d004a59f7c18ec89df311cf0f6a1c714ec924eebcbfdd759a669b90e711
Status: Downloaded newer image for hello-world:latest

Hello from Docker!
This message shows that your installation appears to be working correctly.

To generate this message, Docker took the following steps:
 1. The Docker client contacted the Docker daemon.
 2. The Docker daemon pulled the "hello-world" image from the Docker Hub.
 3. The Docker daemon created a new container from that image which runs the
    executable that produces the output you are currently reading.
 4. The Docker daemon streamed that output to the Docker client, which sent it
    to your terminal.

To try something more ambitious, you can run an Ubuntu container with:
 $ docker run -it ubuntu bash

Share images, automate workflows, and more with a free Docker ID:
 https://cloud.docker.com/

For more examples and ideas, visit:
 https://docs.docker.com/engine/userguide/

#--------------------------------------------------------------------------
# More info
k8s@k8s-VirtualBox:~$ docker info
Install Node.js
You can follow this article for the details of setting it up, the summary of all that is needed is shown below:
k8s@k8s-VirtualBox:~$ sudo apt-get install nodejs
Reading package lists... Done
Building dependency tree
Reading state information... Done
The following additional packages will be installed:
  libuv1
The following NEW packages will be installed:
  libuv1 nodejs
...
Verify (In Ubuntu there is a conflicting package, therefore use nodejs instead of node):
k8s@k8s-VirtualBox:~$ node
The program 'node' is currently not installed. You can install it by typing:
sudo apt install nodejs-legacy
k8s@k8s-VirtualBox:~$ nodejs
>
Install Java
How to install:
# OpenJDK 8
sudo apt-get install default-jdk
Install Git
sudo apt-get install git
Install Maven
sudo apt-get install maven
Install .NET Core SDK
Official documentation for Ubuntu Linux setup: getting started with .NET
# Register trusted MS signature key:
curl https://packages.microsoft.com/keys/microsoft.asc | gpg --dearmor > microsoft.gpg

sudo mv microsoft.gpg /etc/apt/trusted.gpg.d/microsoft.gpg

#------------------------------------------------------------------------
# Register MS product feed (Ubuntu 16.04 / Linux Mint 18)
sudo sh -c 'echo "deb [arch=amd64] https://packages.microsoft.com/repos/microsoft-ubuntu-xenial-prod xenial main" > /etc/apt/sources.list.d/dotnetdev.list'

#------------------------------------------------------------------------
# .NET SDK
sudo apt-get update
sudo apt-get install dotnet-sdk-2.0.2
Verify:
k8s@k8s-VirtualBox:~$ dotnet

Usage: dotnet [options]
Usage: dotnet [path-to-application]

Options:
  -h|--help            Display help.
  --version         Display version.

path-to-application:
  The path to an application .dll file to execute.
That concludes the set up of an Ubuntu VM for Dev 🙂